
I originally created this article for my newsletter subscribers…
The response was so positive so I decided to make a permanent reference on here for people who maybe missed it or wanted to see it again.
This is a cheat sheet I suppose, on tricks I use to make my skin look glossy, my shirt look ironed and my insta pop off the page
You will need: an iPhone, the VSCO app, the Facetune app (i use the original not the new improved) and a slug of patience if you decide to try out my ‘patch’ tool trick.

I swear by VSCO for filtering and storing my pics but also look at STACKABLES if you want to add grainy filters or make the sky pink
the shoot: I shot on a Leica D-Lux 109… fyi: i don’t bother with white balance like most people on insta seem to, because it stops me looking tan. I’d rather edit a yellow background than deal with a pale body. You do you.
{i also shoot on an iPhone 7 and a Nikon D5… the way i edit is exactly the same} When I’m taking pics I shoot in batches of 10 …checking in between for poses i like and for awkward belly rolls I don’t
Once I’m done, I transfer all my pics to iPhone using an Apple lightning to usb camera adapter and favourite the best ones on my camera roll, deleting the rest – out of sight out of mind.
Then I deal with the first world problem of deciding on which of those images I want to edit:

the edit:
I rarely choose the perfect picture – i much prefer a pic with a bit of movement and attitude, regardless of whether everything is in focus.
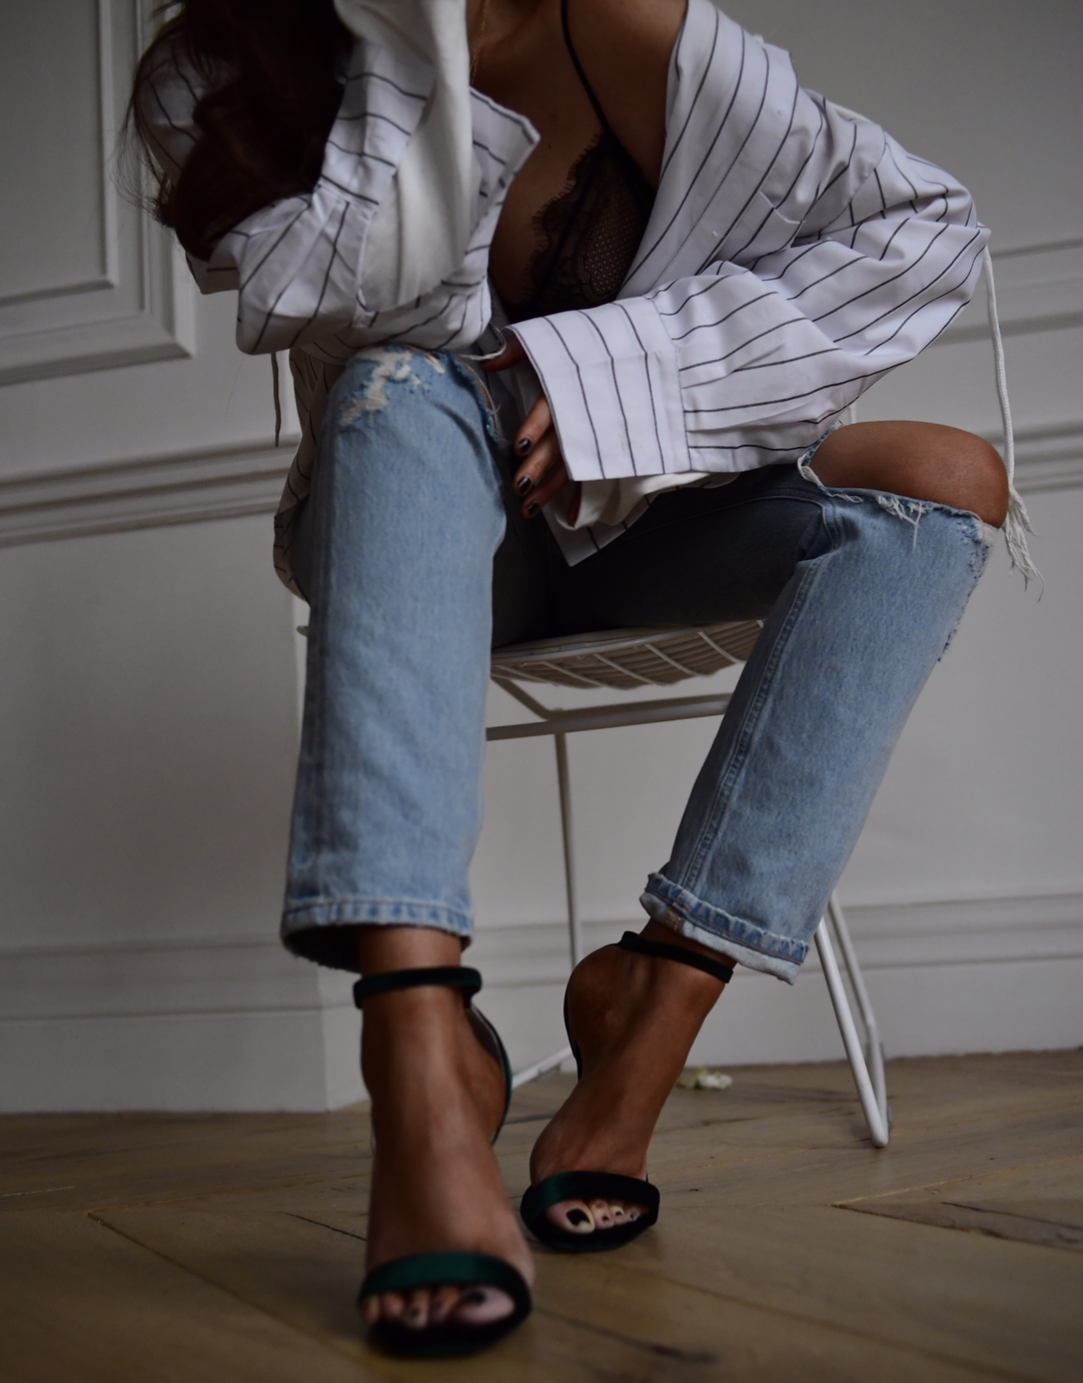
Once I’ve chosen THE ONE I put it straight into Facetune and the magic begins…
1. For this pic I started by whitening the wall (the sunlight made it look yellow and my cure for this is the ‘WHITEN’ function which i suspect is intended for eyes but works a treat on walls. I coloured it all in and then erased anything I’d accidentally whitened by mistake (the knee was an issue in this pic)
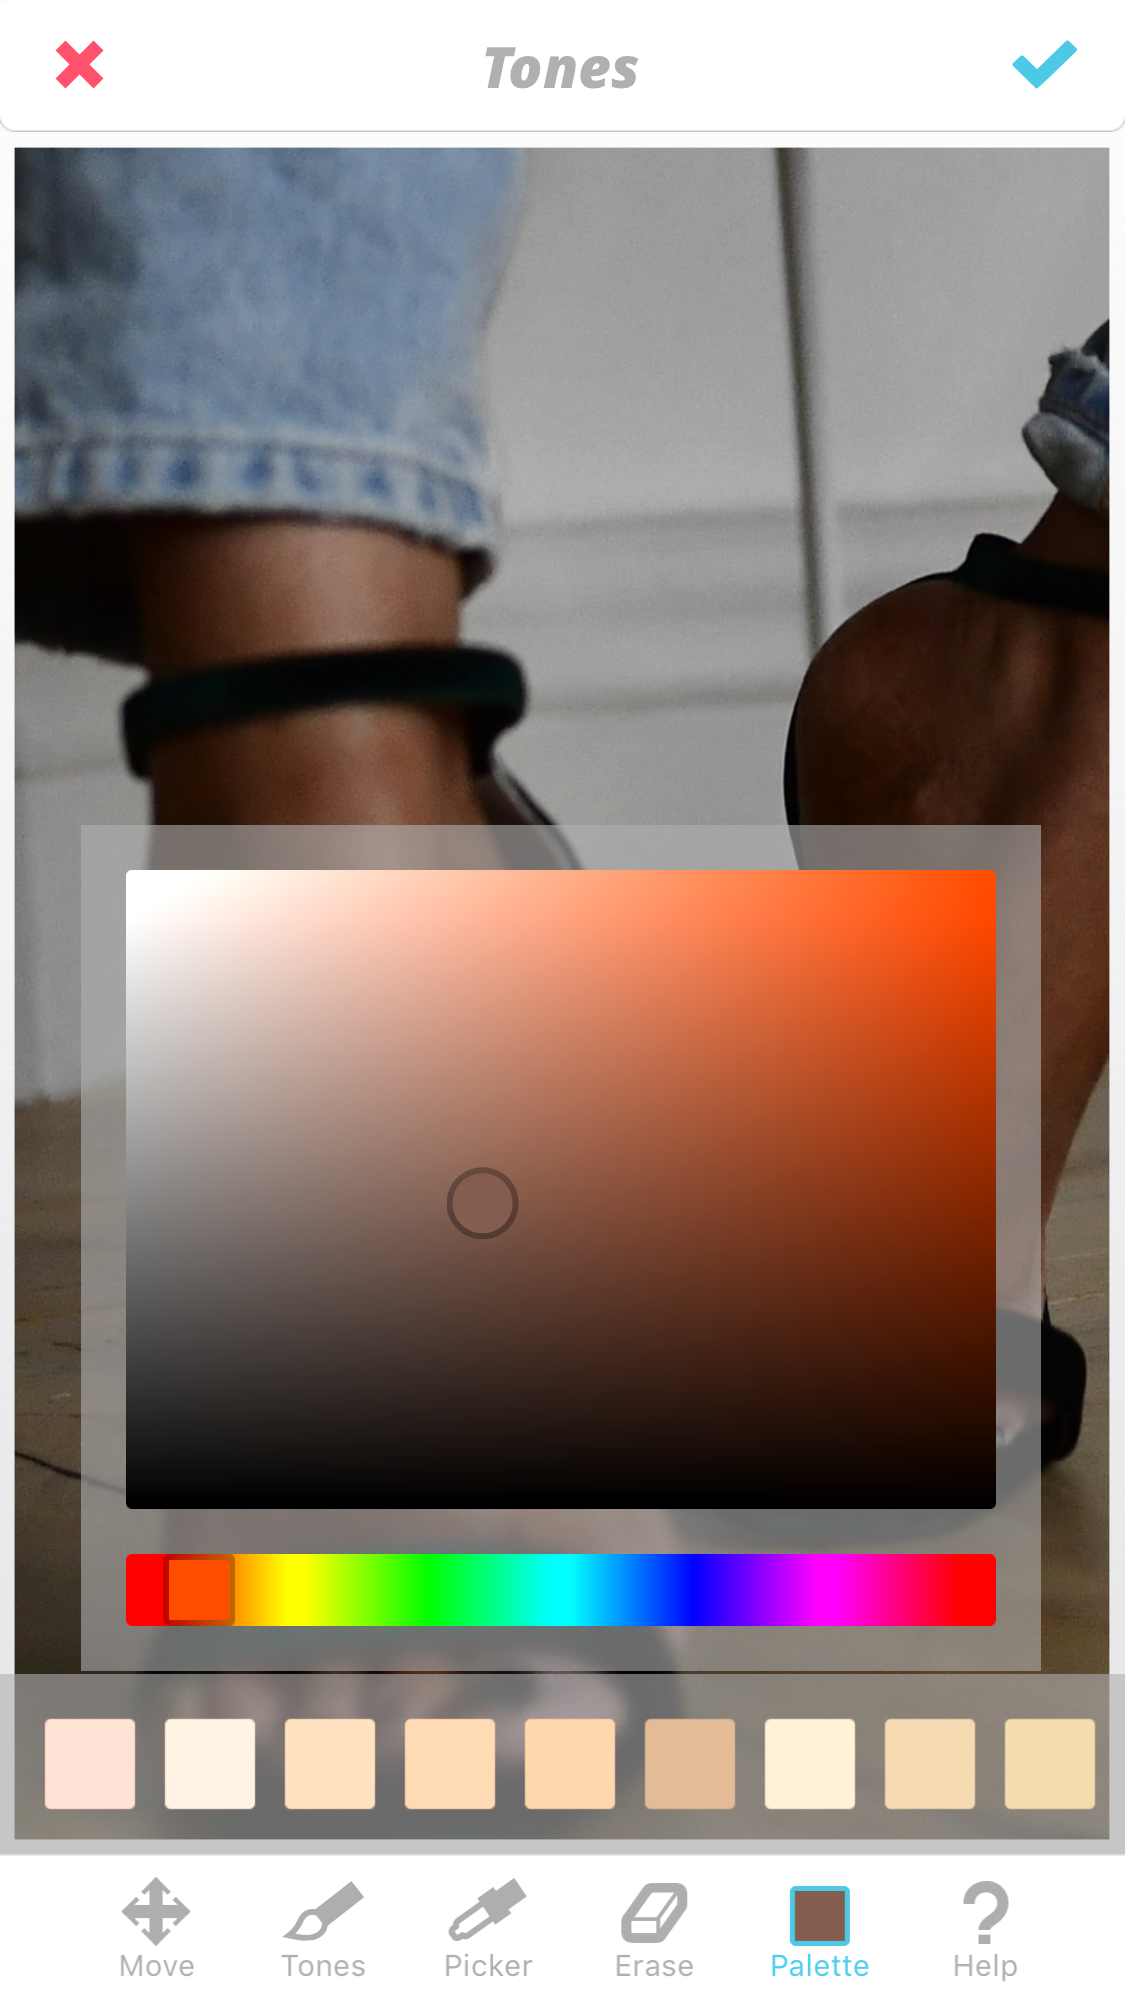
2. I made my skin look glossy using ‘TONES’. Where the light and shade falls on my body, I like to enhance this by highlighting and shading those areas to make them more defined. THIS IS A GAMECHANGER in that it will make you appear slimmer and healthier without actually changing the shape of your body. I’d rather enhance what I have than remove what I don’t like.
How i use ‘TONES’: i hit ‘picker’ and tap on the area i wish to shade – as in the picture below it presents you with a palette of colour and i eyeballed a slightly lighter colour to the one suggested, i then hit ‘TONES’ and began adding brush stokes of highlighter to those areas. The ‘ERASE’ function comes in handy if i’ve overdone it and look a little drag.
3. ‘SMOOTH’ comes in handy – although to be honest in this pic I didn’t really need it – if you’re like me and occasionally get into fights with an unruly bottle of fake-tan or the dog ate your iron. As with ‘TONES’, i’ll glide across the skin/shirt where needed and use the erase to dab any over-smoothed areas. Nobody wants to look at a cartoon
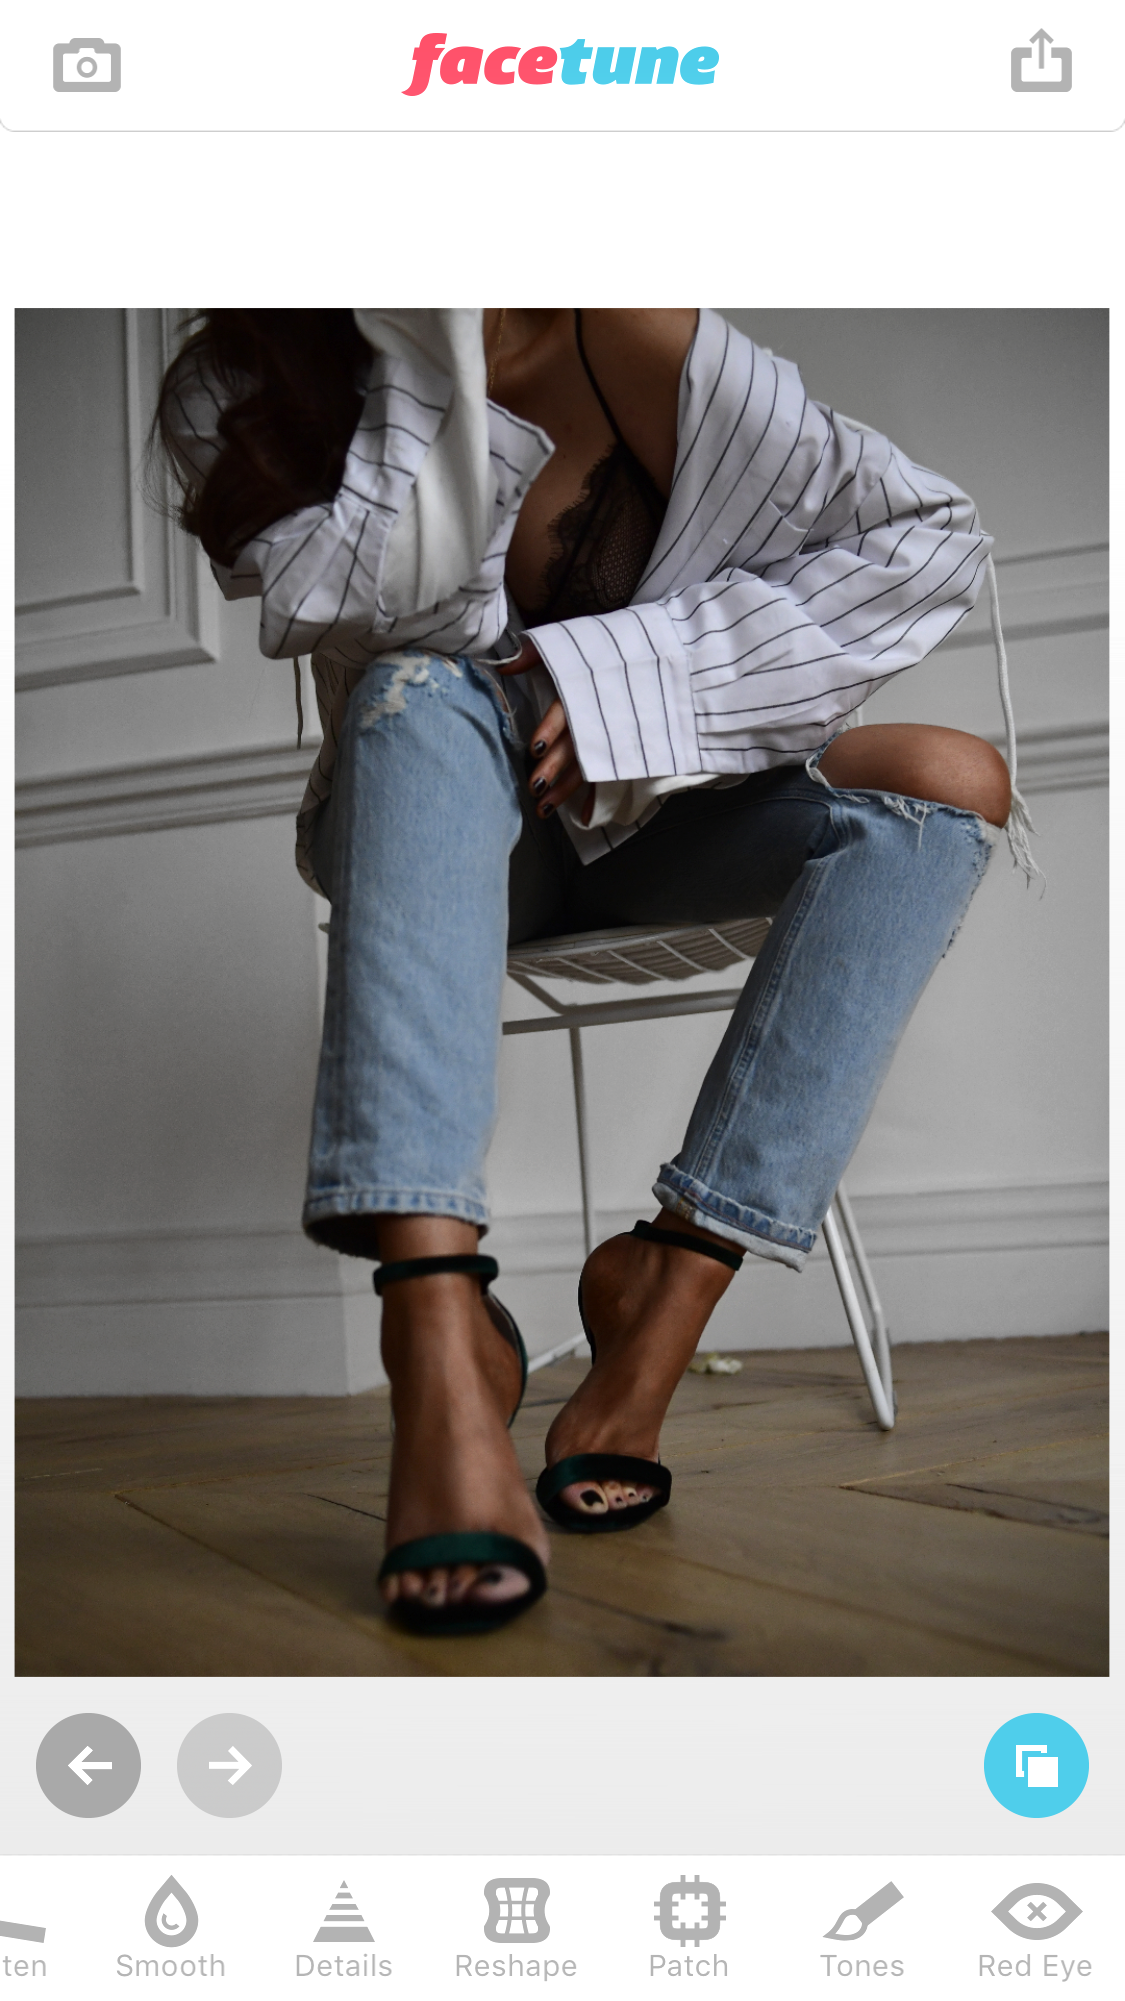
Facetune finale
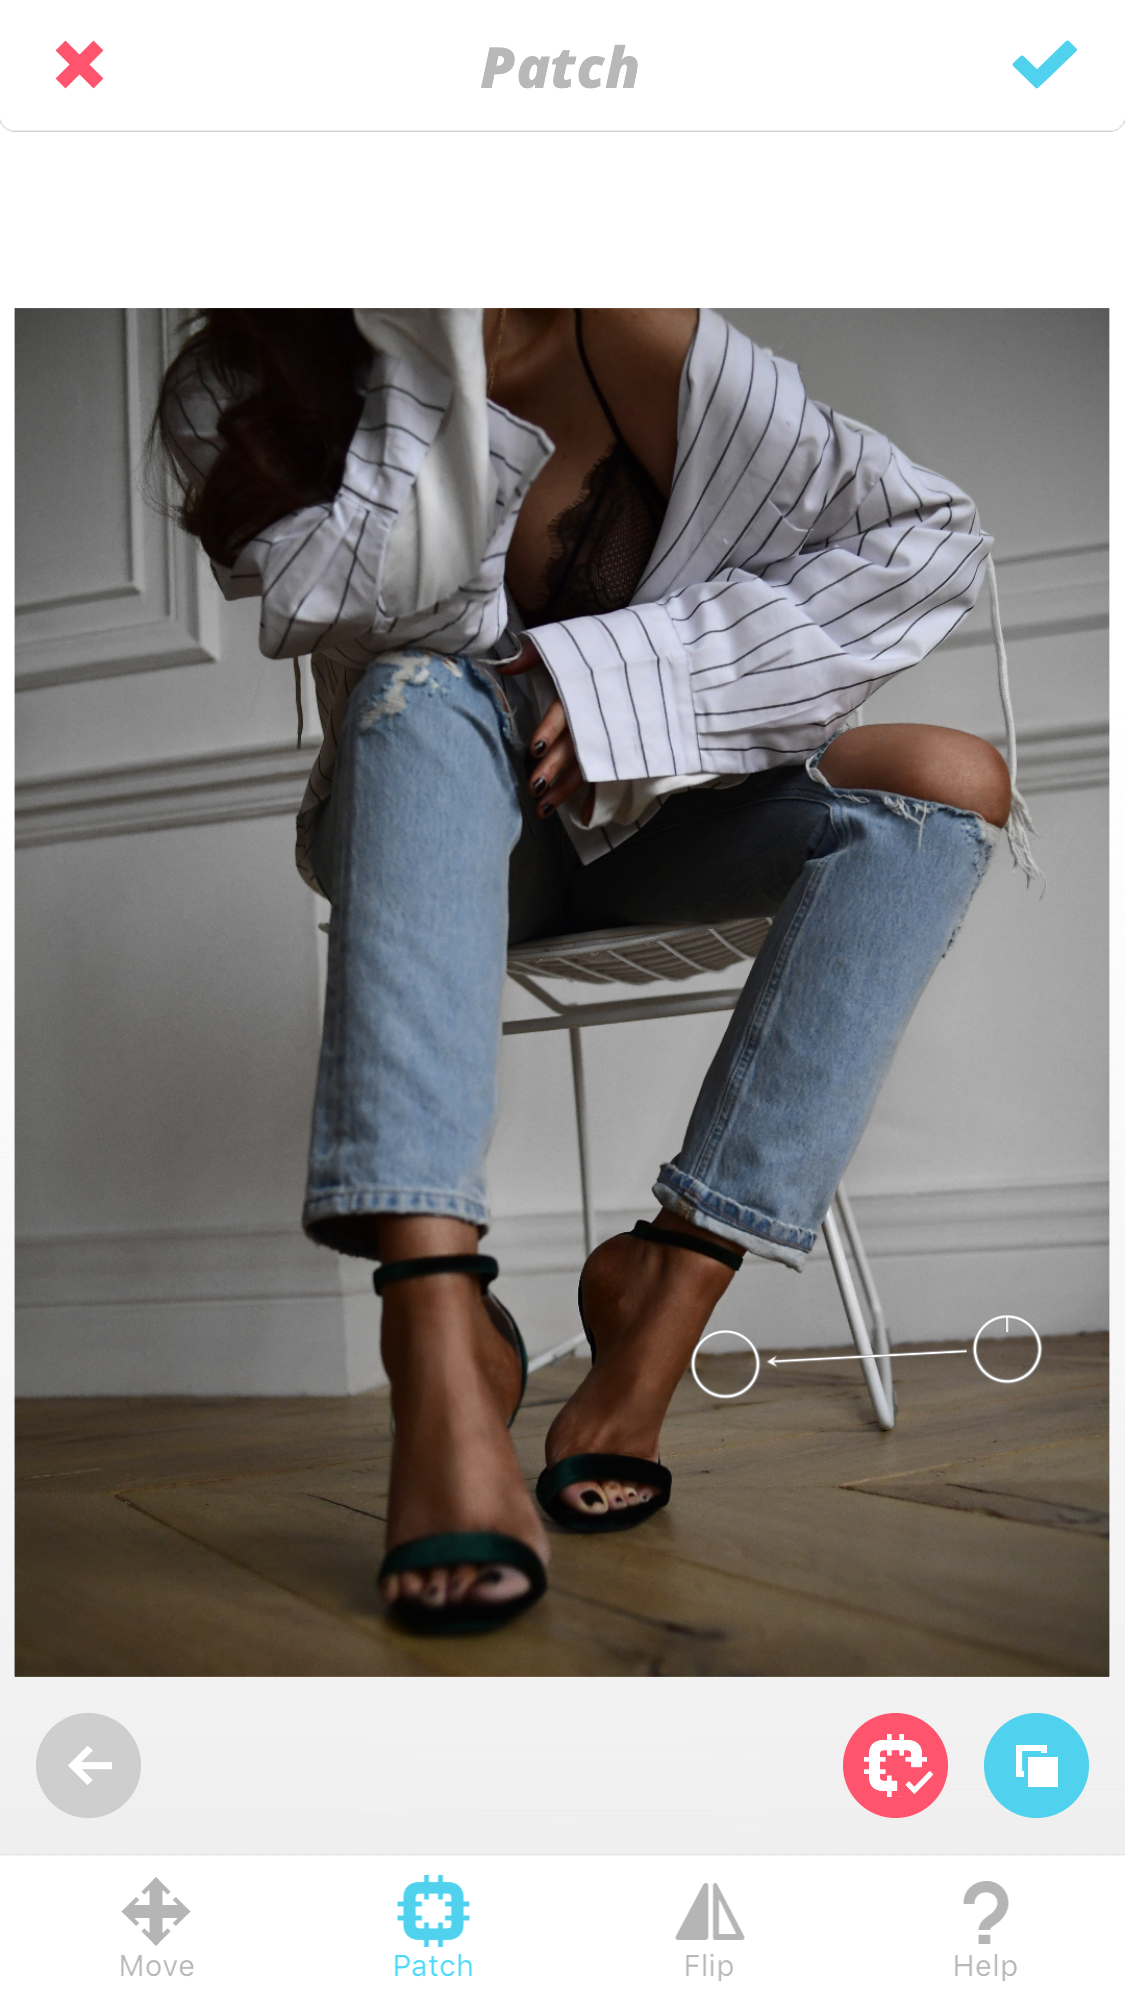
Once you’re a pro, the ‘PATCH’ tool becomes a bit of sport at the end of an edit. I only use it when I have too-much-time on my hands.
To use: hit ‘PATCH’ and hover over the area you want to remove. It will create a circle over the area and an additional circle which it will put in its place. It takes practice but i removed a piece of paper from the floor in this pic – can you tell?
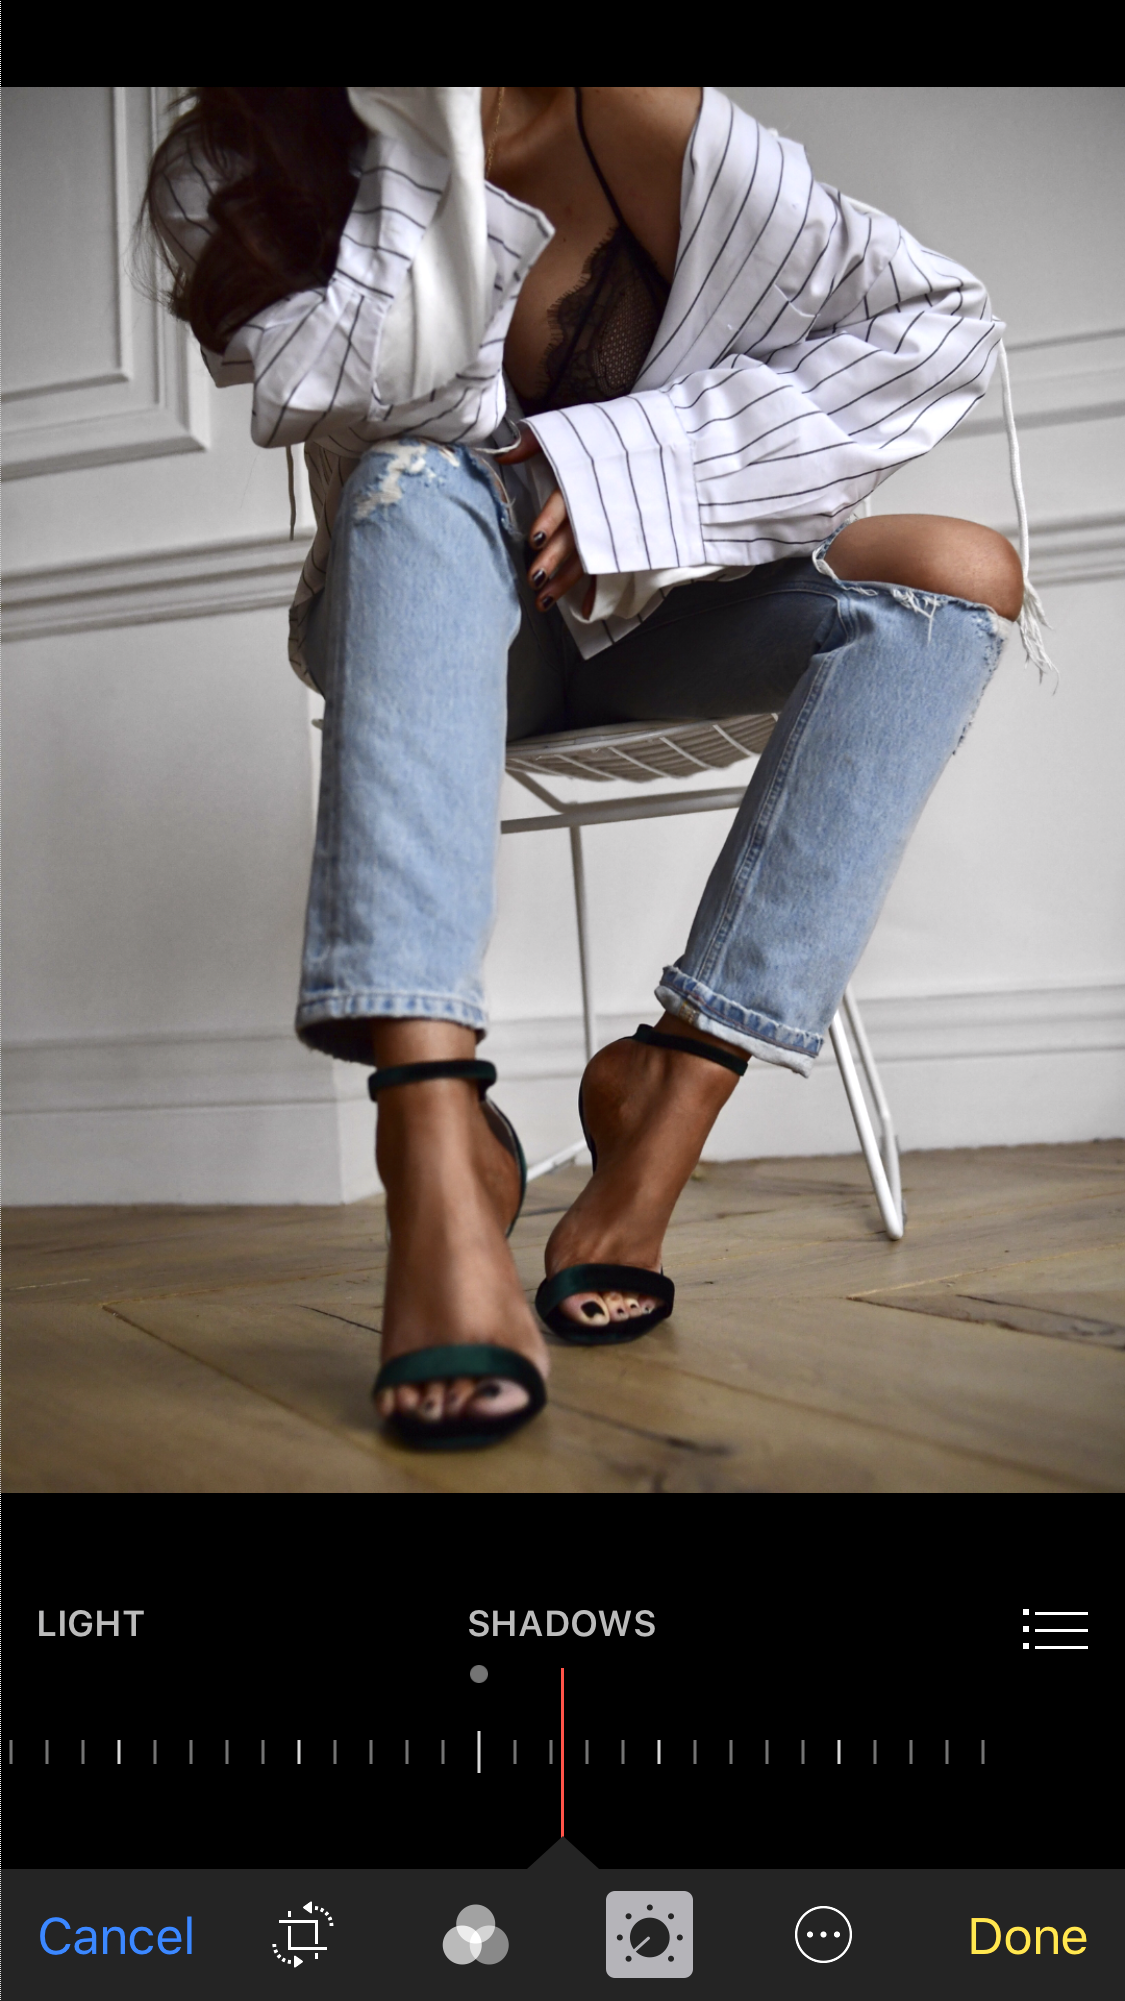
Save your edited Facetune pic to camera roll
Use the iPhone edit to add shadow, brighten and if you really need to – add exposure as you see fit. I’m a big fan of shadow and I’m not really fussed with contrast or exposure until after VSCO.
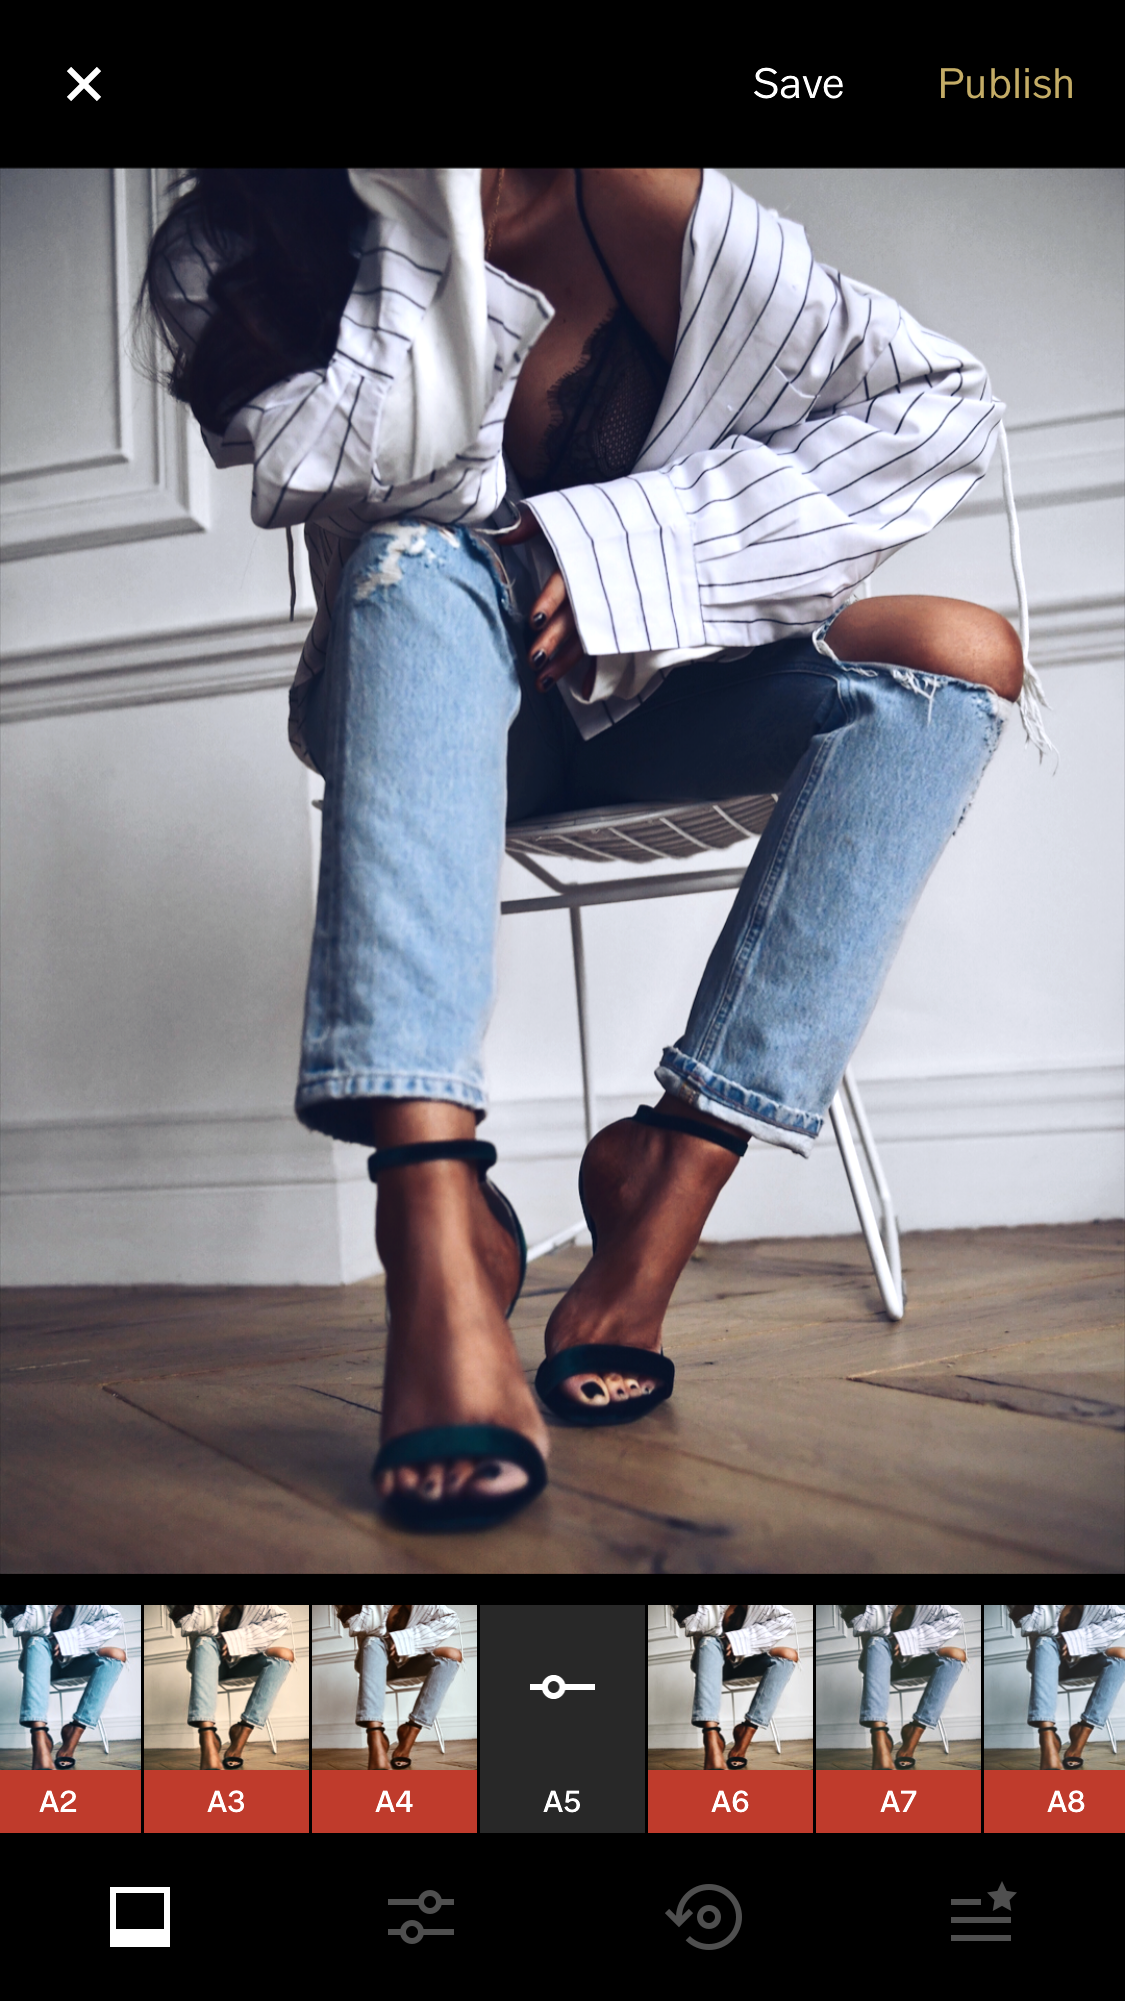
I use A5 which has a slightly blue tone to it and I’m also quite partial to an HB1 in winter. If you pay for the annual subscription which is £18 you can also edit your videos… handy for insta-stories.
Click to see the final upload on insta.
My secret instagram hack:
I see the most recent nine pictures as a kind of shop window – so often I will archive pics to maintain an aesthetically appealing nine-grid.
- Open the photo in your gallery that you want to hide/archive
- Press the three dots in the upper right hand corner
- Press Archive
- To UNarchive a post, go to your profile, click the clock button with an arrow on the upper right hand corner, click the photo you want to revive, press those three dots and click “Show on Profile”
Click to see the final upload on insta
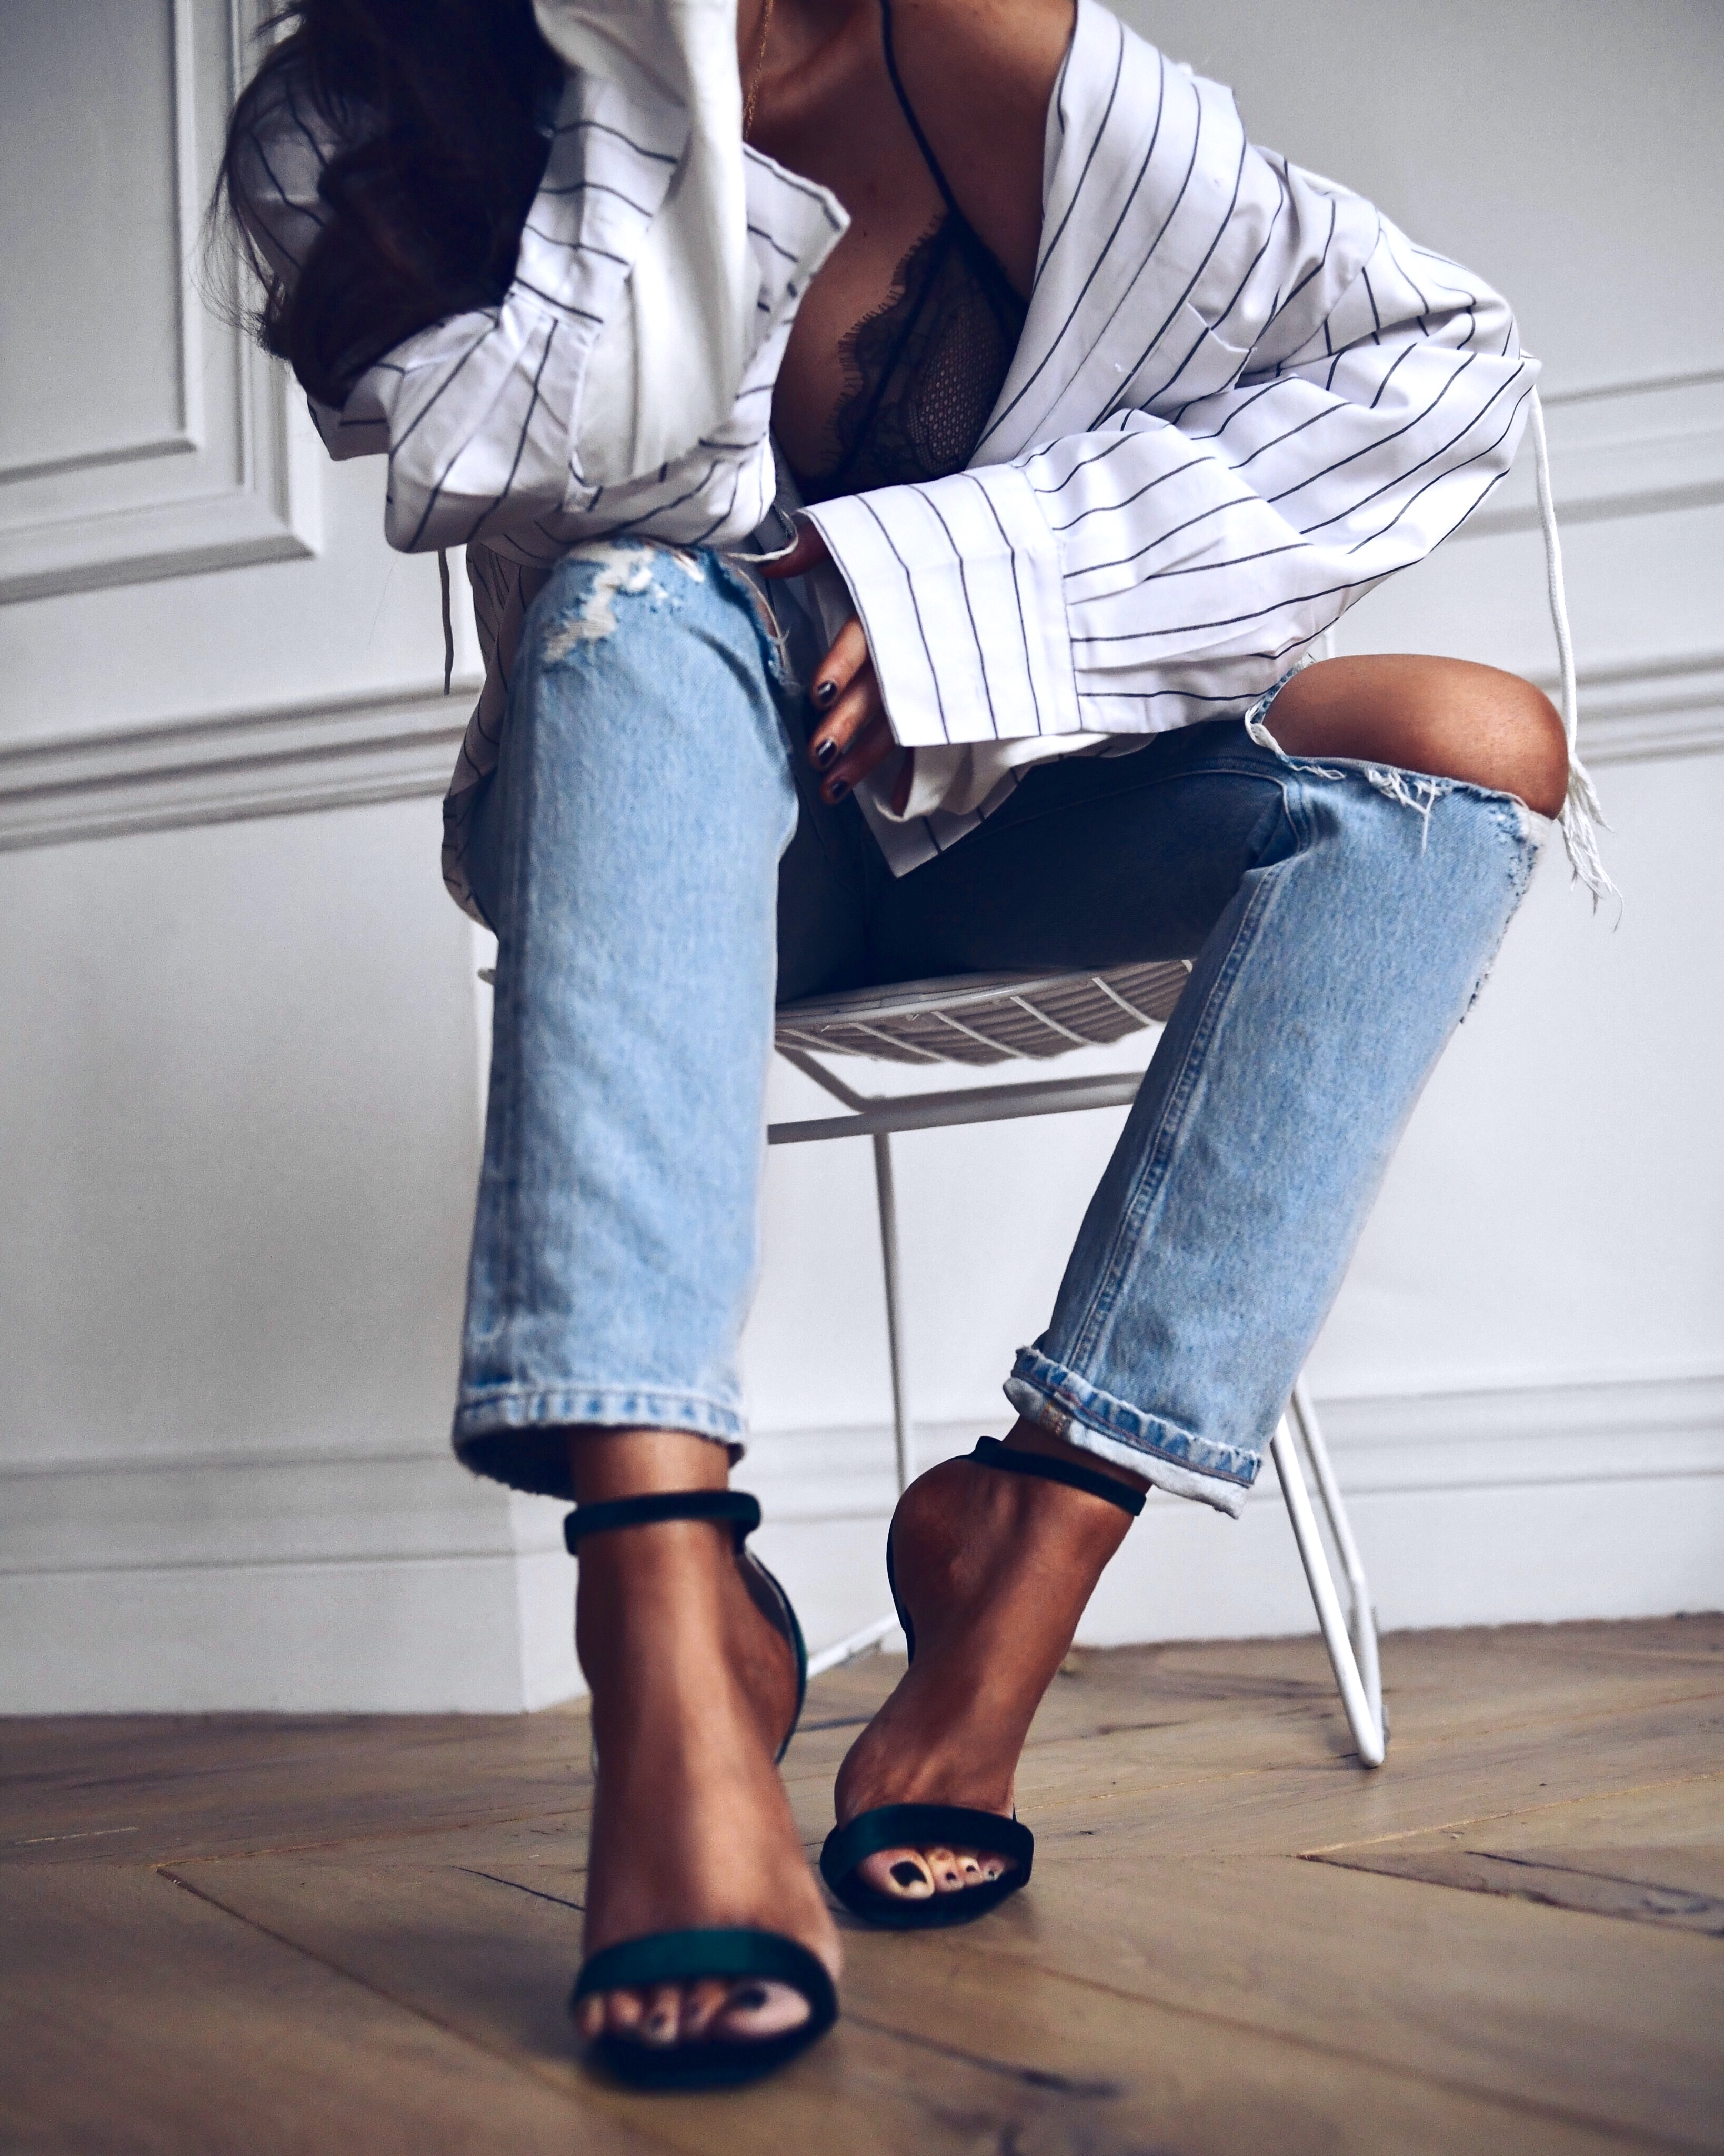
ph cred: J. ANDREWS
ALL WORDS, STYLING AND AWKWARD POSES MY OWN
